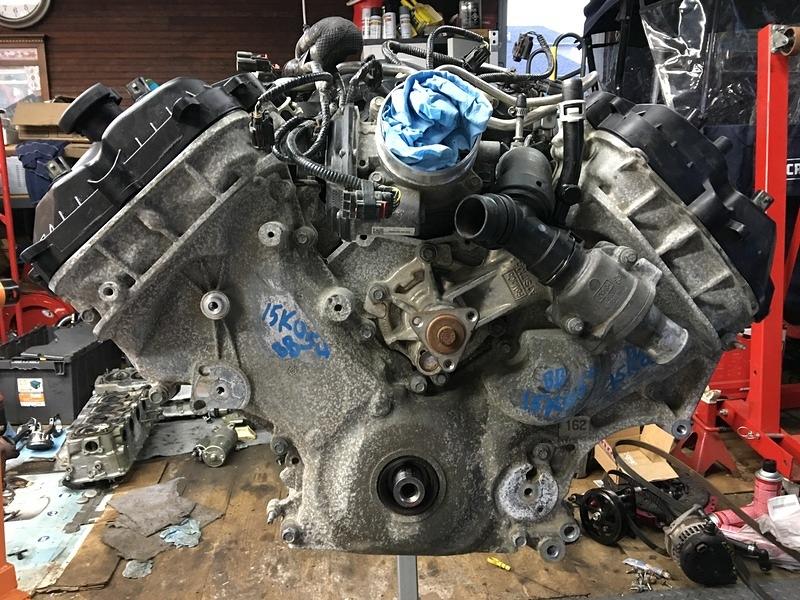
New to me junkyard replacement engine with dry sump oiling system mock-up.
Engine is in the car! Pat McMahon gave me a hand installing it and the transmission Friday, loaded car onto trailer and headed to Factory Five Racing Saturday AM. At Factory Five the goal was to re-weld the rollbar I had to cut to remove valve cover from engine while diagnosing it. It was two-fold, the old bar was very close to the passenger cam sensor, and changing the bar angle/bend would allow for easier extraction of engine in the future. While there the passenger side footbox needed updating to better fit the dry sump tank I want to place. The 3 gallon dry sump oil tank should arrive later this week, once that is in place, plumbed, I can finish up the car and see if the dry sump pump works, and if junkyard engine runs!
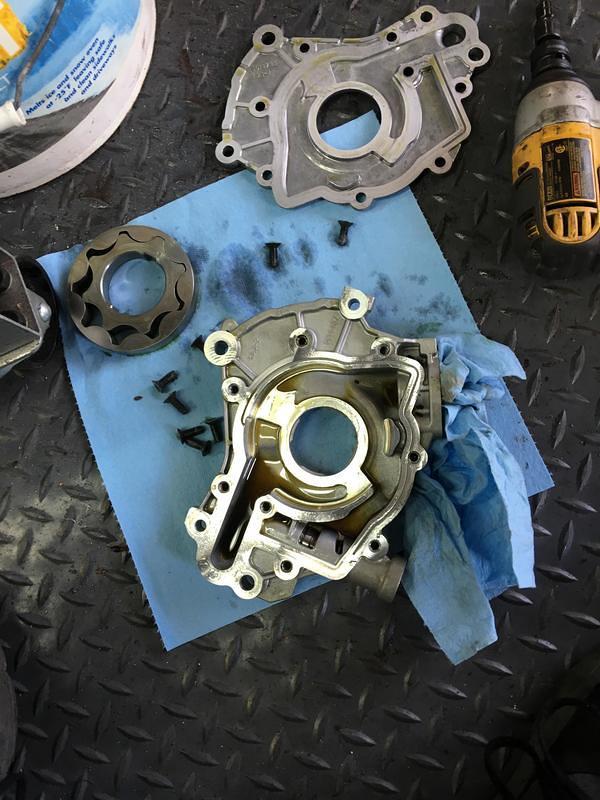
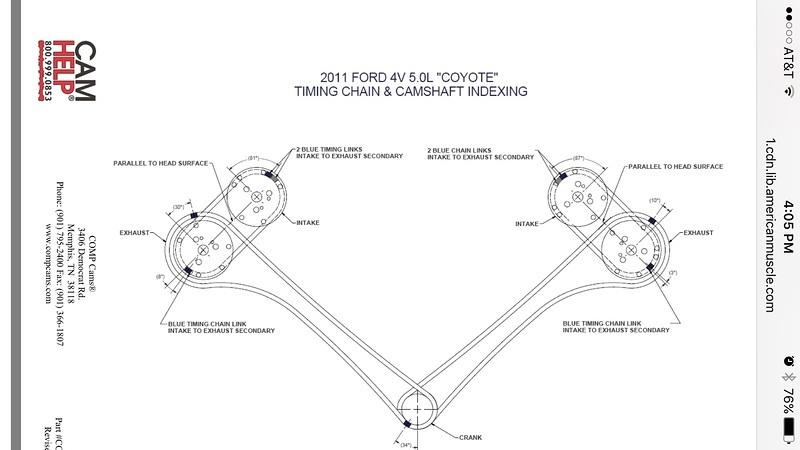
Removal of stock oil pump was needed as the dry sump pump is now the engine oil pump. To take out the stock pump removal of timing chain was necessary. Pretty complicated but instructions were easy to follow, make sure to line up the chain marks!
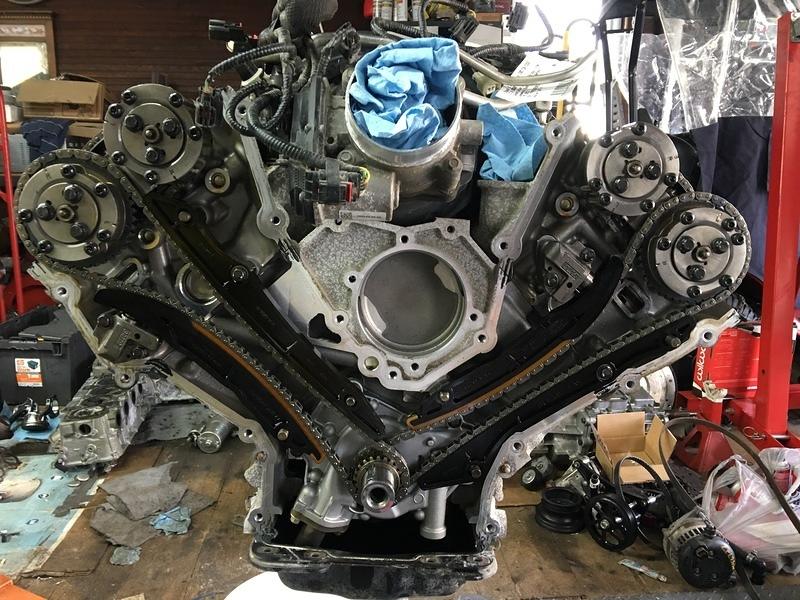
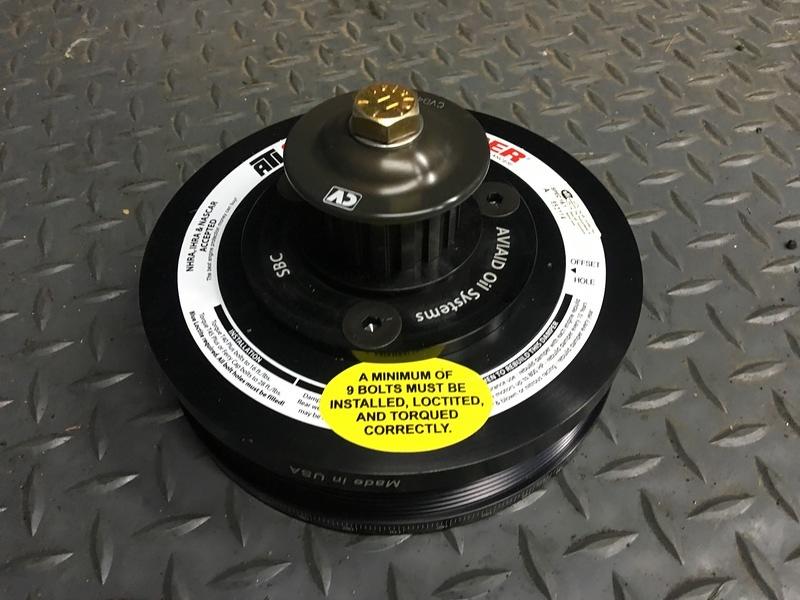
All back together you need a special longer balancer install tool to put the new balancer on the crank. The Aviaid kit comes with a fancy ATI balancer.
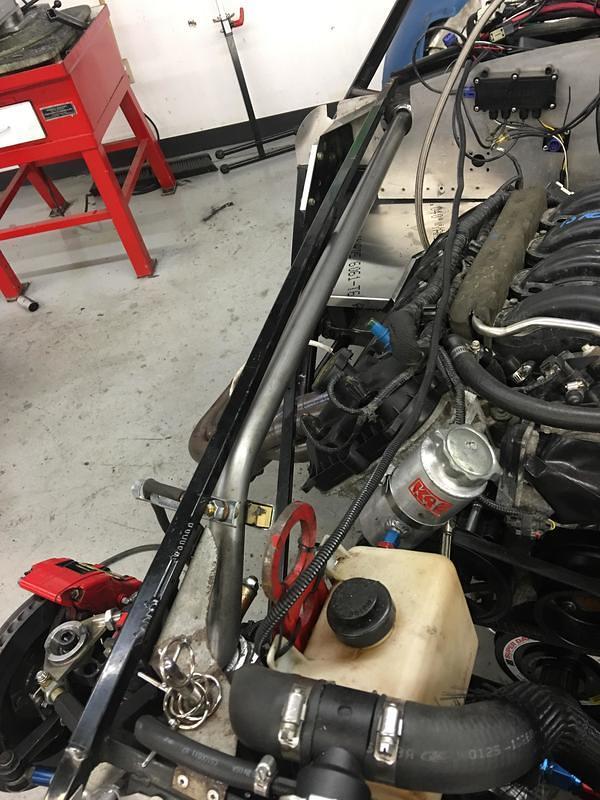
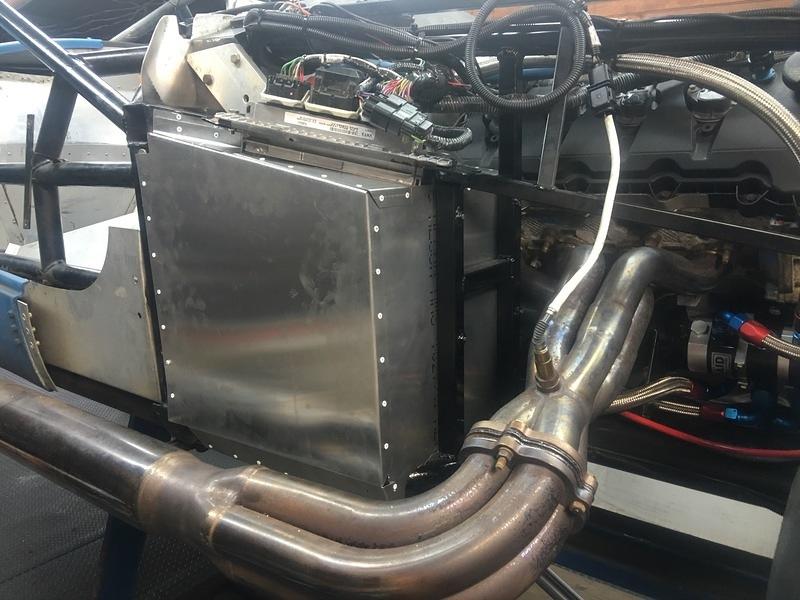
After that the mock-up of the dry sump pump on the side of the engine. It clears the motor mount and lines up with the belt in the front most mounting location. Unfortunately my bracket did not have the rear holes drilled/tapped out so they are sending me a new bracket.
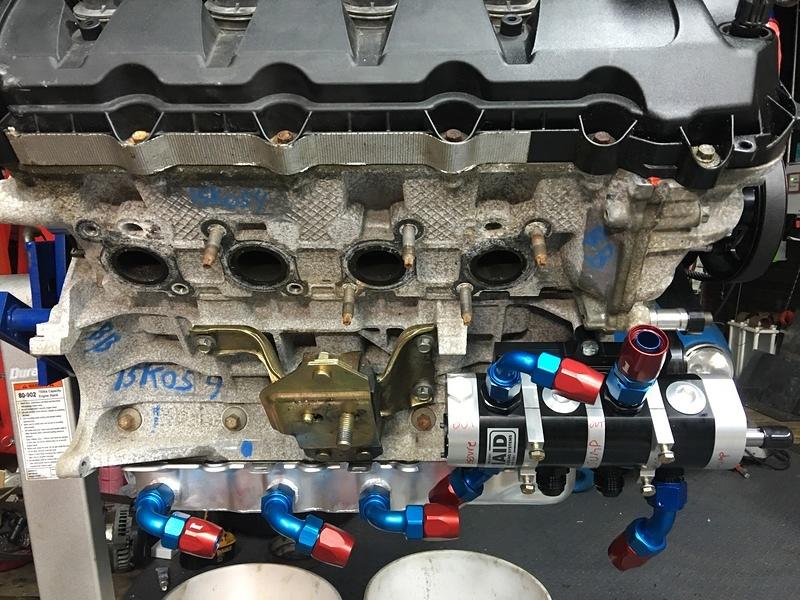
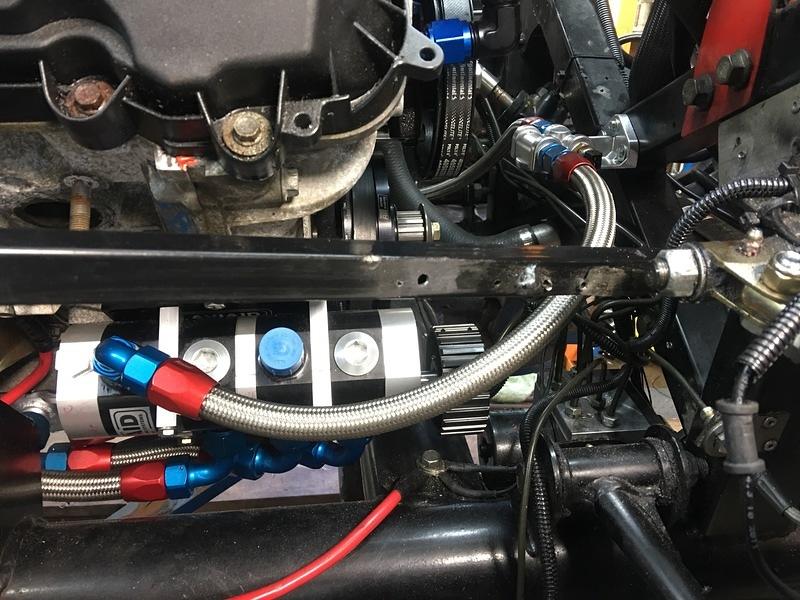
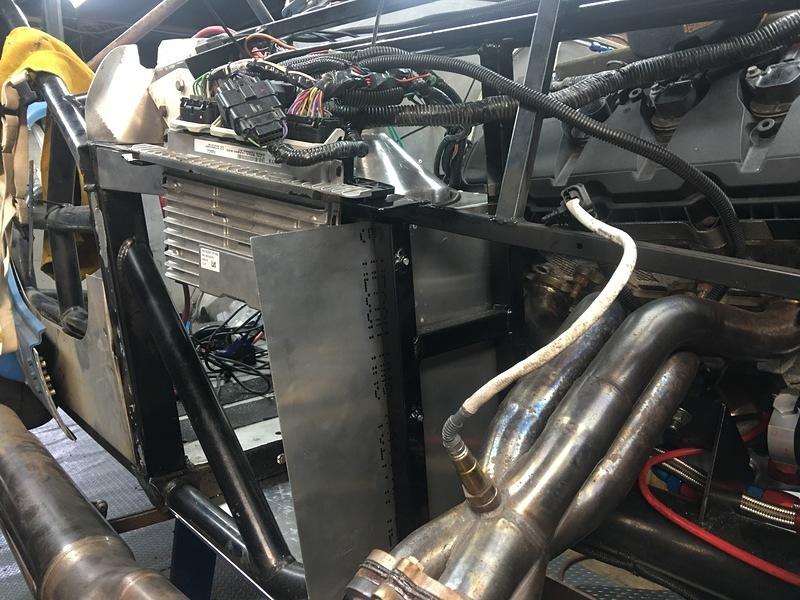
You can see there will be a ton of fittings/hoses, most -12 AN lines. 3 sump stages, and the back most stage is the high pressure stage feeding the engine with oil pressure.

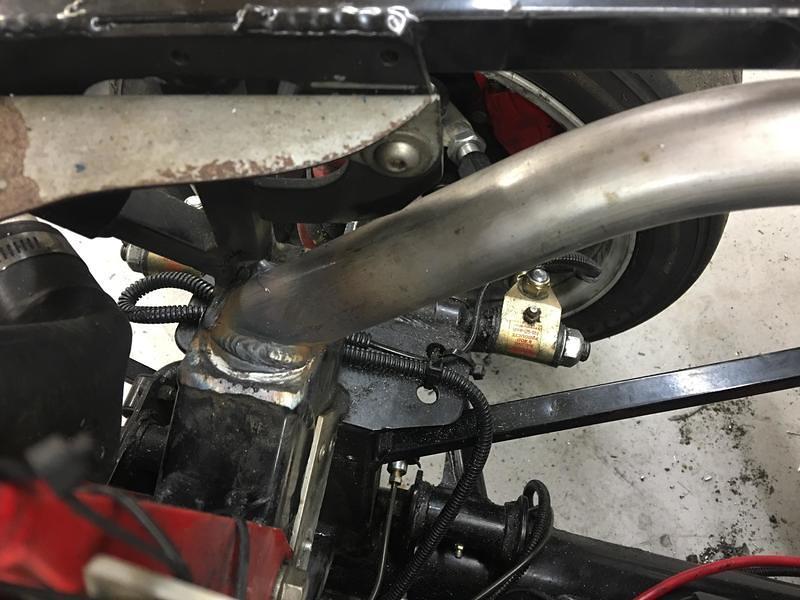
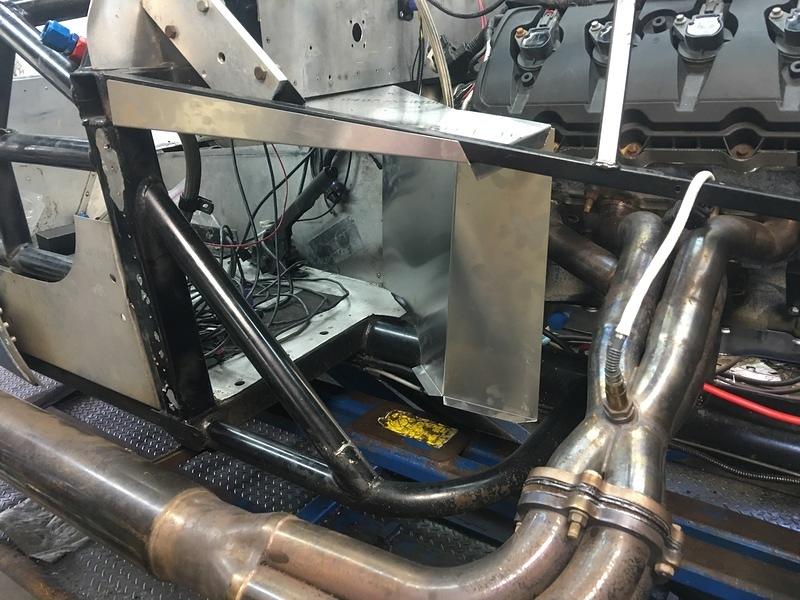
I also cut the bottom of the bellhouse to gain more ground clearance.
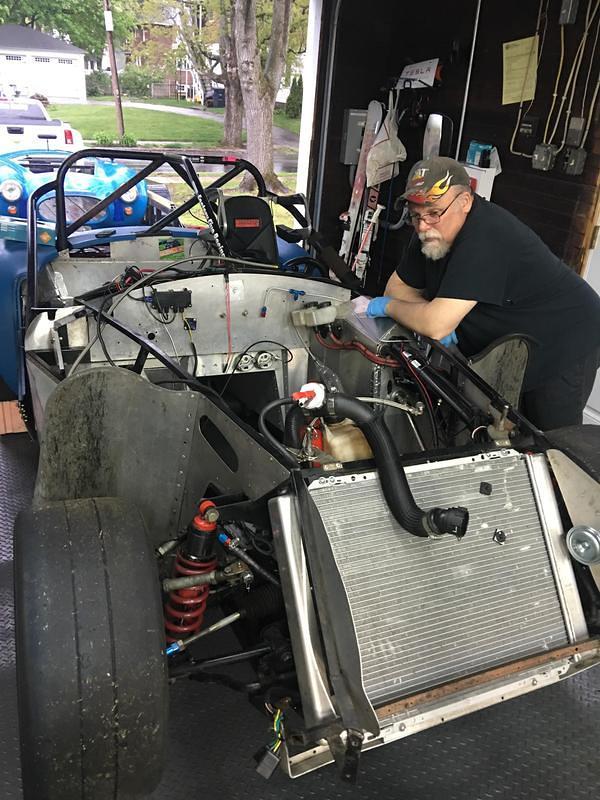
Pat ready to give a hand with the engine install
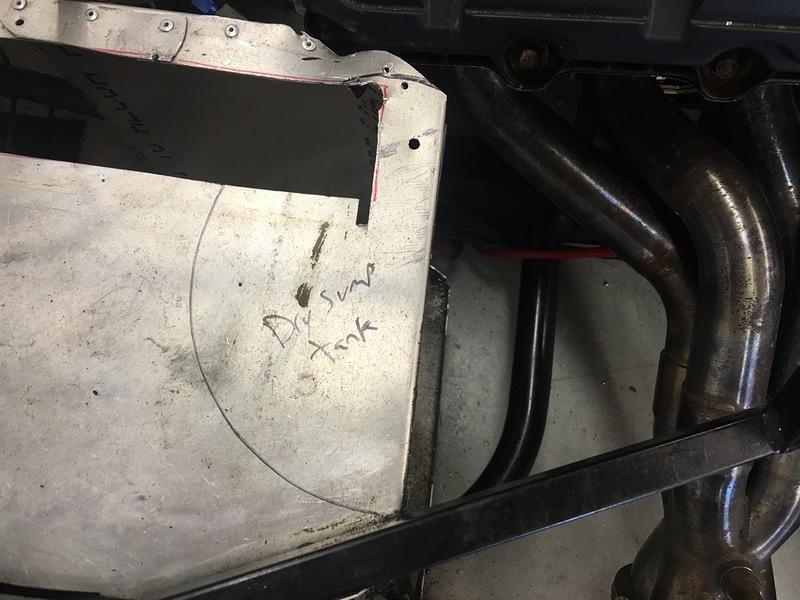
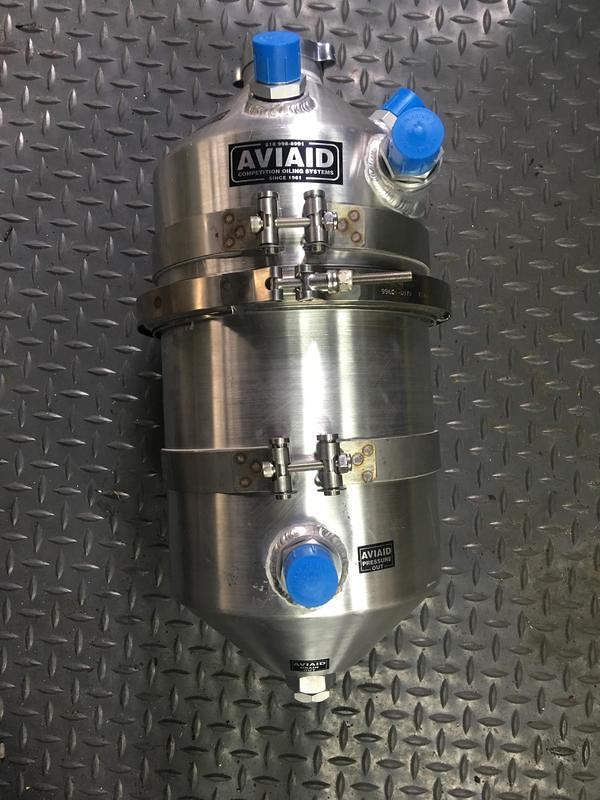
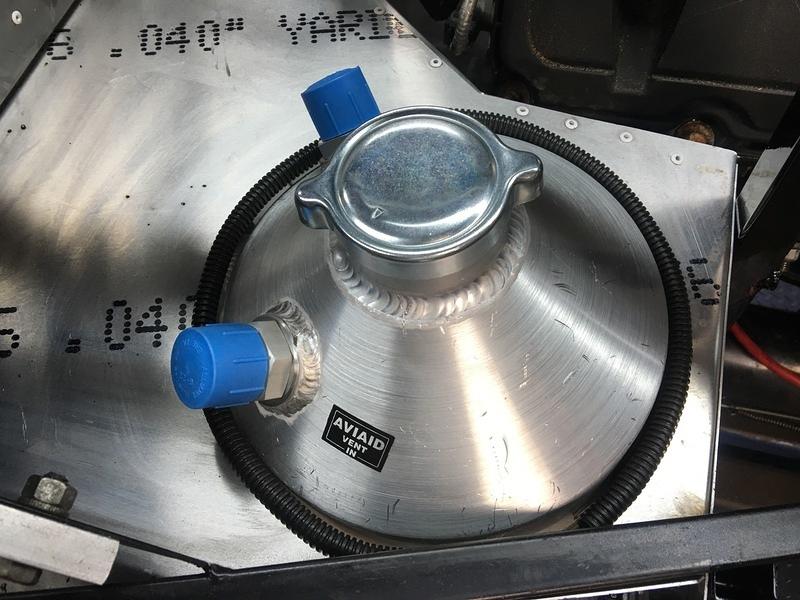
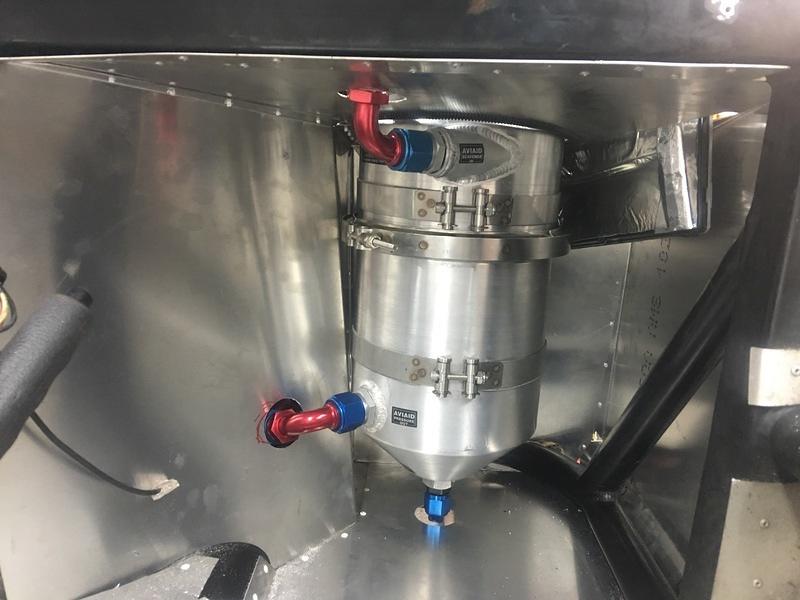
At Factory Five looking at footbox and the location of the dry sump tank (its 7″ round, and 22″ tall!)
Location of replacement rollbar.
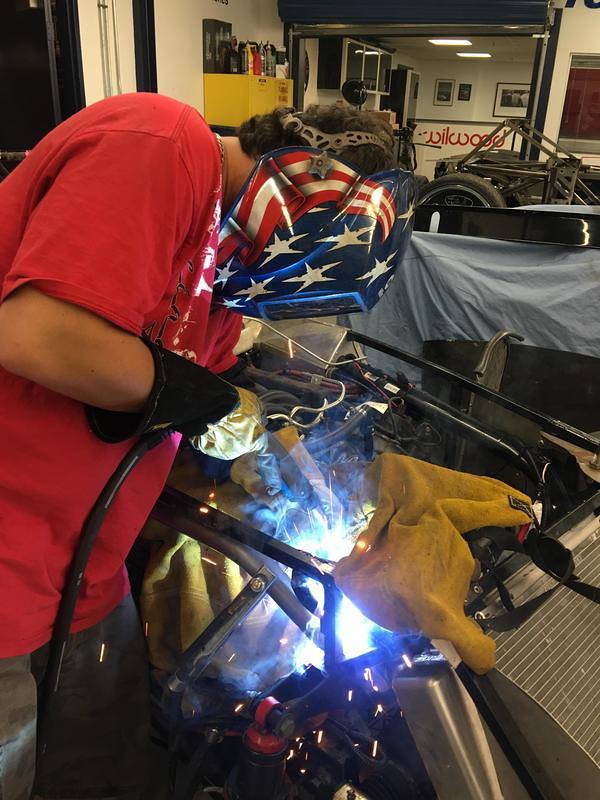
Factory Five’s Jon Dean welding like a pro.
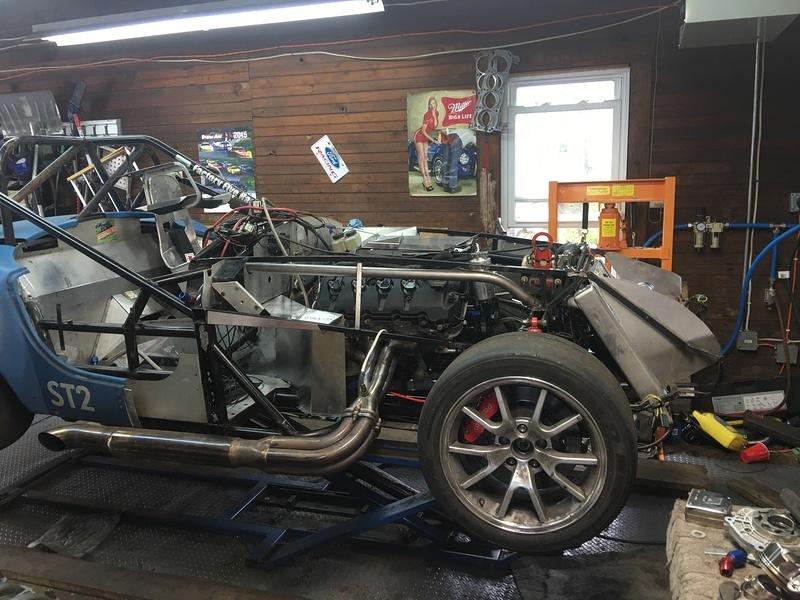
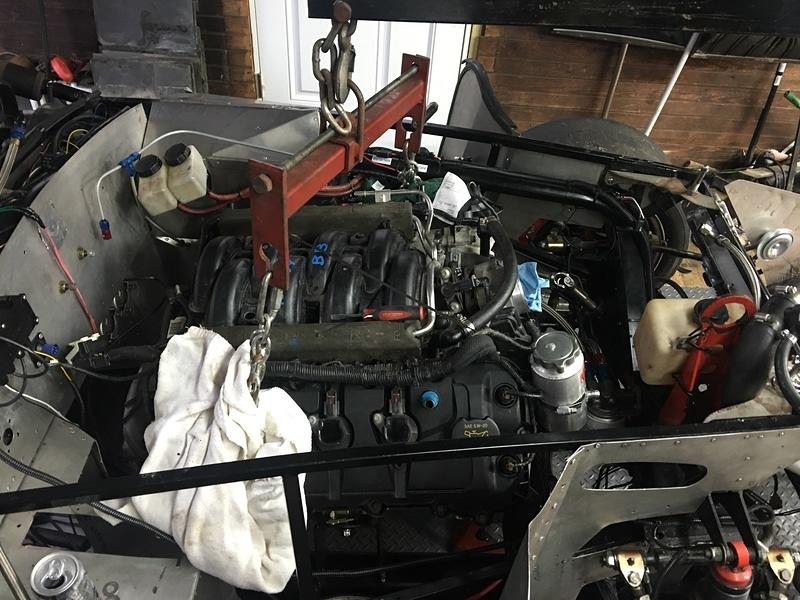
Back in the garage. Lots of work to do still, install drive shaft, exhaust gaskets, finish footbox, final install of dry sump, plumb oiling system, wire ecu to engine, etc..
Dry sump fits nicely, and looks like I have enough room for the -12AN lines to run from pan to bottom of the scavenge pump
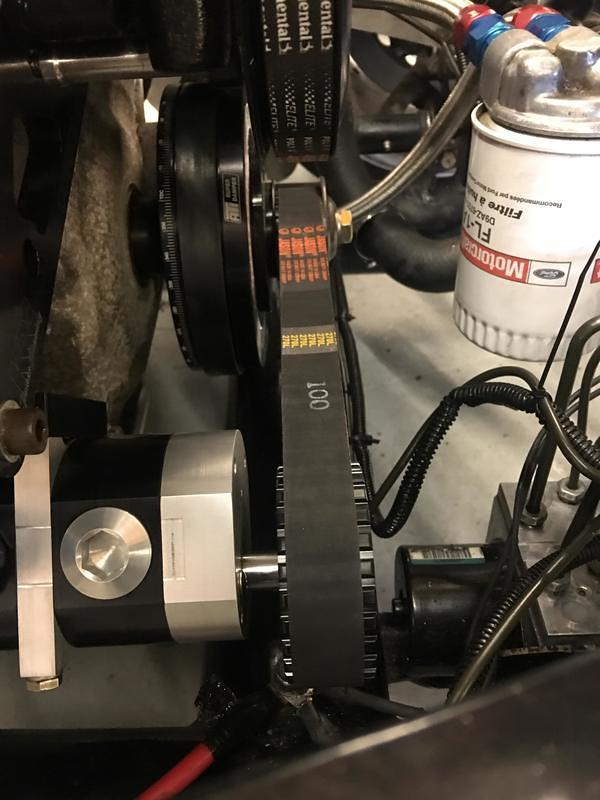
Check for belt alignment, all is well. Notice the new balancer, it came in the Aviaid kit, along with the cogged sprocket to drive the dry sump pump. The coyote balancer requires a long install tool, so make sure to get that ahead of time (autozone does not have one you can borrow)
My FFR challenge car is an older mk2/3 mix, so I still had the old passenger foot box (no dropped floor, we kinda ‘hacked up’ to make the coyote fit) so the always friendly folks at Factory Five Racing hooked me up with some new mk4 footbox aluminum
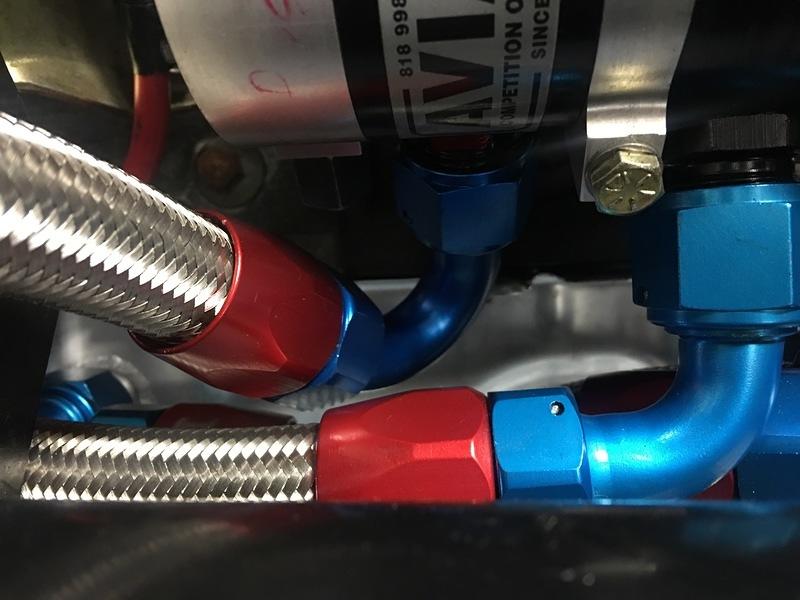
Back to the scheduled program.. Making -12AN lines, a lot of them.
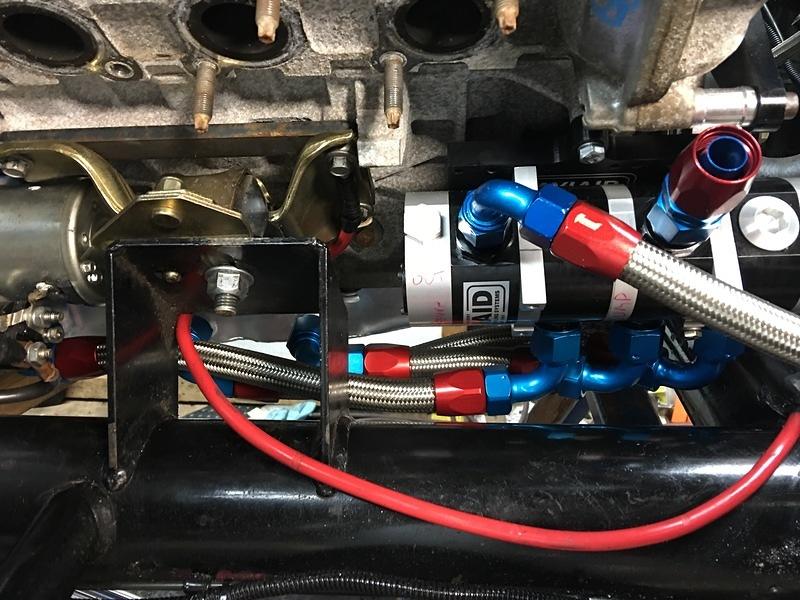
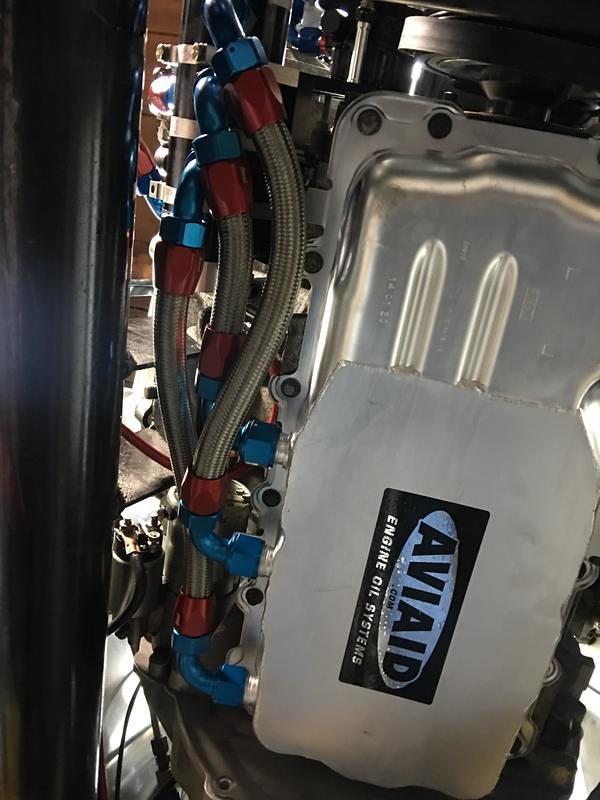
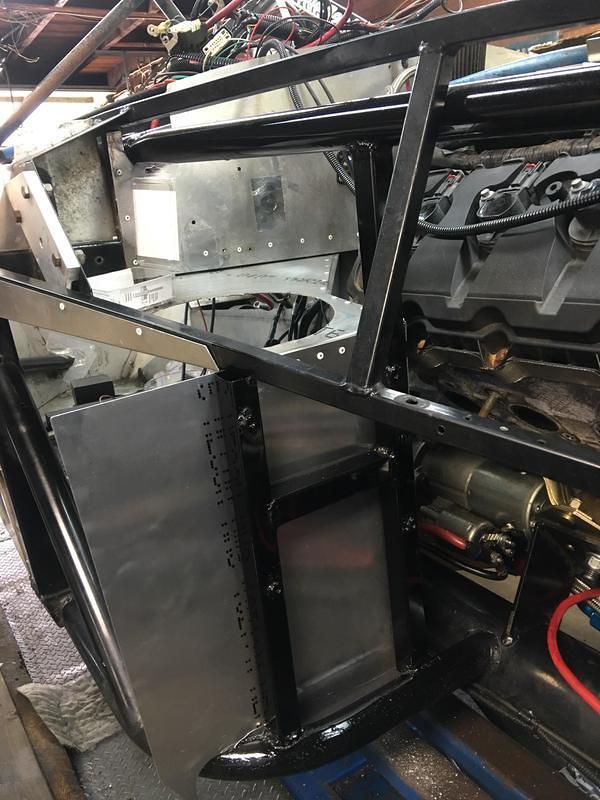
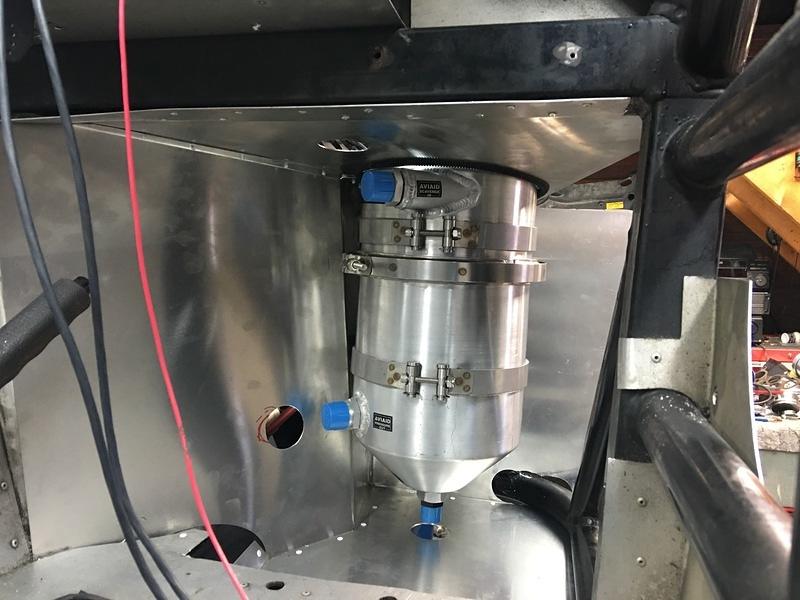
Figure out where to put this giant tank with 12 quart capacity of oil. The tank is 7.5″ round, and about 20″ tall.. only place to mount it is in the passenger footbox (sorry passengers, you will have toasty foot heater along for the ride)
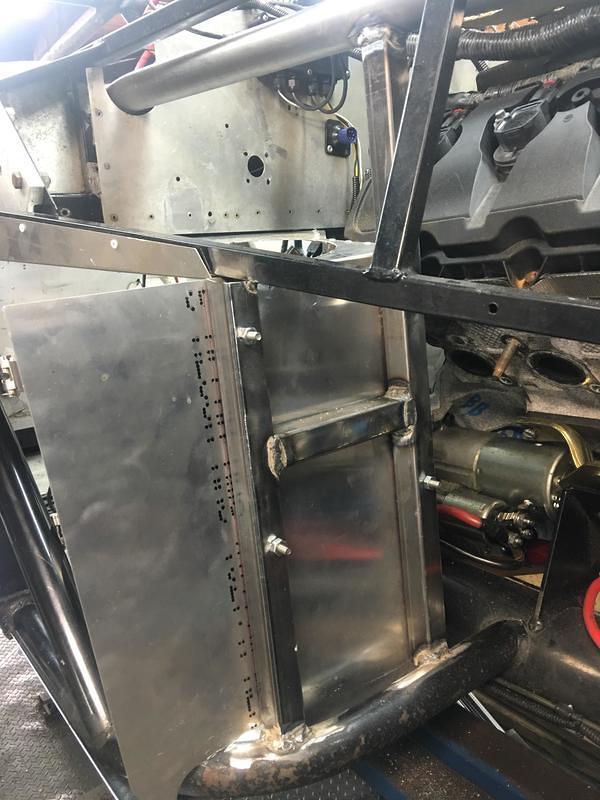
Mock up dry sump tank, drill a big hole on the top of the footbox and holes for the brackets on the front facing aluminum to help locate where the new weld-in square tube will go.


new 1″ square tube cut to fit.. time to weld it in

3 Gallons of hot oil, I don’t want that to go anywhere, so made sure its solidly mounted!
paint everything, now for some assembly
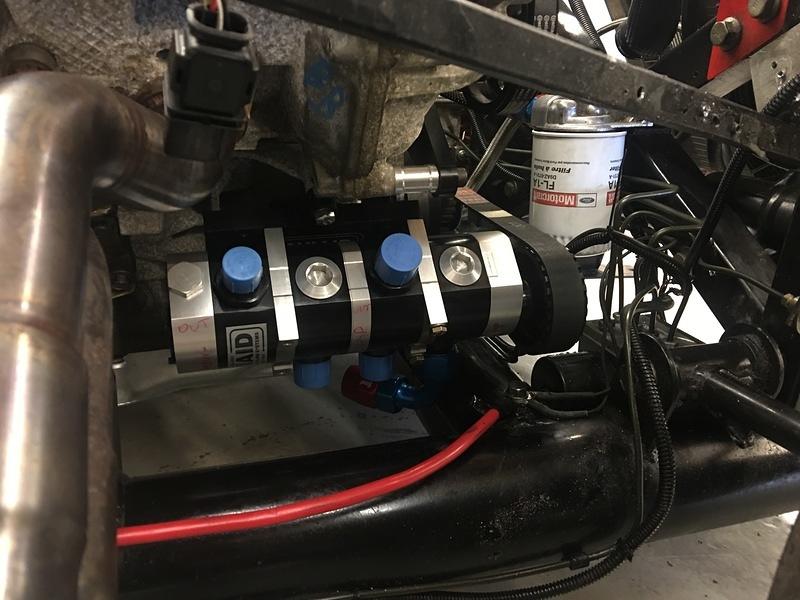
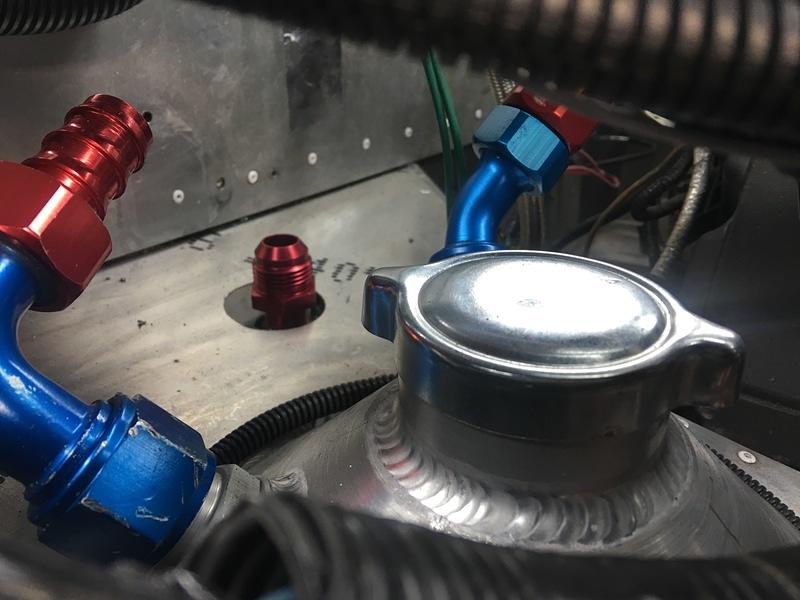
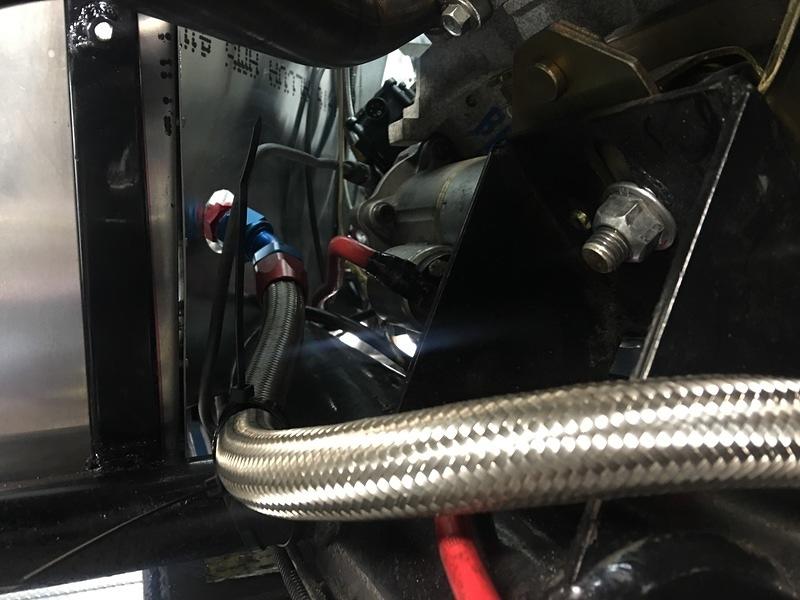
oil filter re-locater the left side of the pic is from dry sump high pressure, the right side goes and feeds oil to the engine.
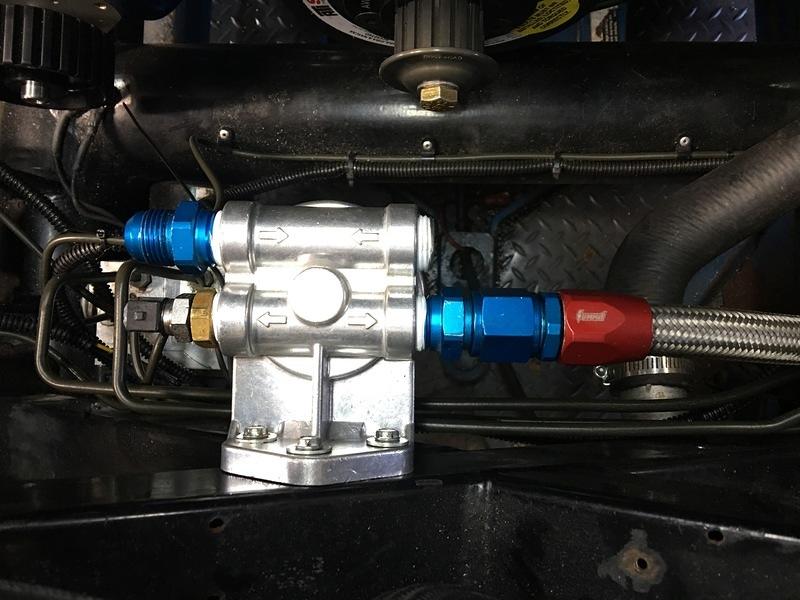
feed line is a -10AN
used some small wire loom to act as aluminum edge guard
drill an access hole in the floor of the footbox to drain the oil
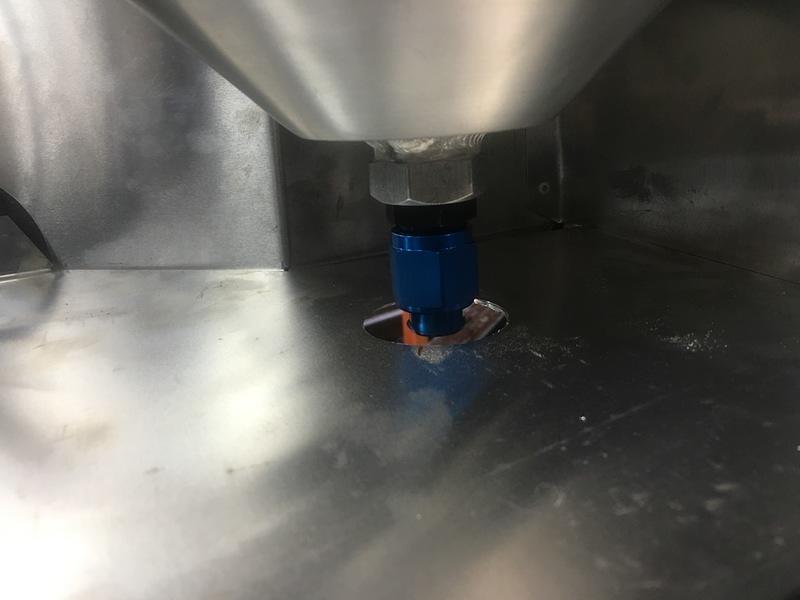
cut holes for AN 90deg male to female fitting adapters
Do some more welding making a bracket for the new ECU location on the side of the passenger footbox, next to the dry sump tank
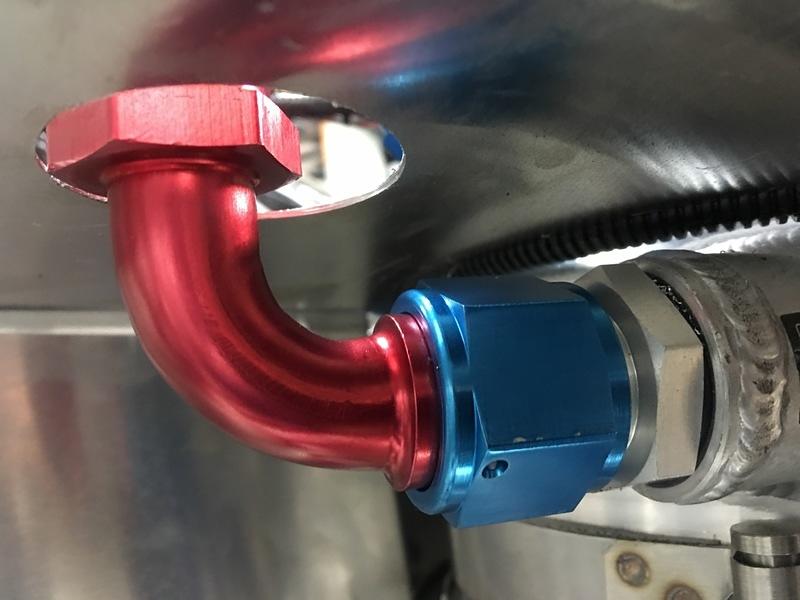
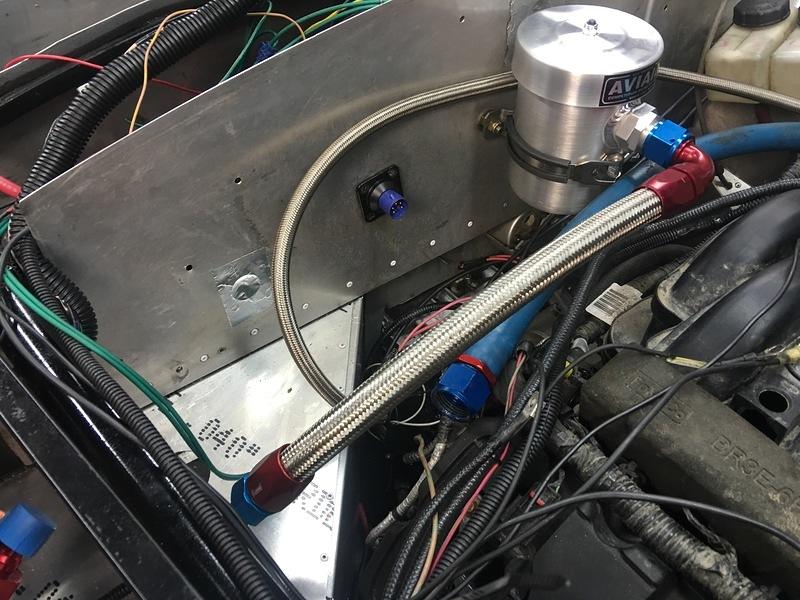
Make some more -12AN lines – bottom of tank to dry sump high pressure inlet
150deg -12AN fitting on the pump side
Hook the vent up (the valve covers vent into the dry sump tank, then the dry sump tank vents to a catch can put in the middle of the firewall)
seal up the footbox
tank in its final location and plumbed up
Prime the system by removing the cog wheel off the dry sump pump, and spin it with a drill. I ended up using a small air powered 3/8 gun with a socket on it. I have oil pressure!! spinning it max what the air powered gun can do (not that fast) it produces around 20psi if oil pressure!
Put the belt on the dry sump (take crank belt guide off, place cog belt on dry sump, then push belt onto crank. Put guide back on)
Fill engine with fluids, and.. fire it up!
Oil pressure on the dash is bottom left.
IT WORKS! amazing, just amazing. Lots of work to get to this point.
Thanks Factory Five’s Dave Smith, Jim Schenck, and Jon Dean for being who you are, you guys rock!! Factory Five Racing and its community is simply the best! Speaking to that community, thanks Pat McMahon for helping put the engine in, not only is he my main competition on the race track, but he is more then willing to ‘help the competition’ get back on track!
Now to change front end alignment, throw the street windshield in, and go test it out on the street.
Success! #48 is back!
More pics here: http://www.johngeorgeracing.com/gallery/index.php?/category/59